TL;DR – My initial adventures with Copilot Studio. Part 1 is about Topics, specifically, a very simple Security Topic I created.
I finally had some free time to play around with Copilot Studio (previously PVA). I saw this demoed during Ignite and I wanted to start playing with it, so I can learn what is possible. I’ve only tested a few features so far, but I can see the huge potential already. I am writing two short blog posts on this topic, because I tested two features that I thought could be very useful in the future. 😊
- Part 1 (this blog) is about Topics, specifically, a very simple Security Topic I created.
- Part 2 is on AI Plugins, specifically, a very simple Security prompt I created.
You are probably wondering why a Security Architect is testing this tool. There are several reasons, but the first reason is because a while back I created an MSSP SOC chatbot and I think this is a much better way to achieve similar results. Please keep in mind there’s a LOT more possible than what I tested, but I only had a few hours to play today.
My copilot
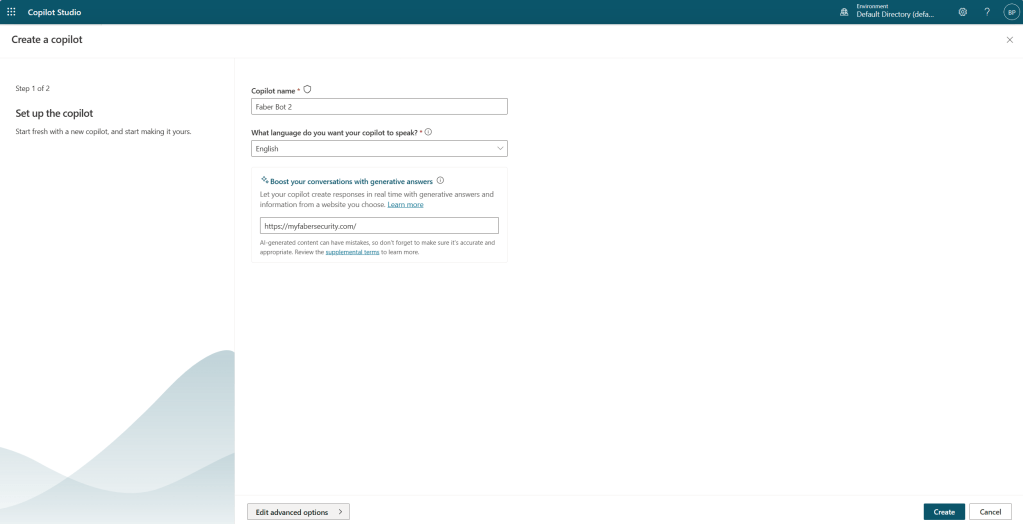
I actually created this copilot a few months ago, when it was still PVA. I creatively named it “Faber Bot 1” and it’s just using basic default settings, except I added a custom icon. It’s just a few clicks to create the copilot.
Security Topic
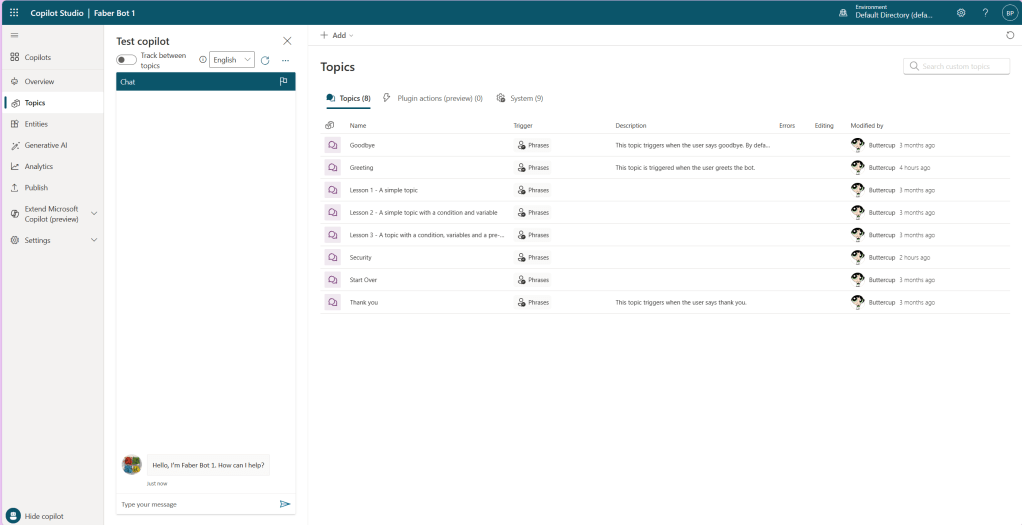
This is where I spent a little bit more time on the specific topic. There are a few topics that come out-of-the box, but the real value is adding those that you will need, in my case, I added the Security topic.
This topic is going to be looking for a few phrases that I edited to be specific to the topics that I wanted to ask it about.
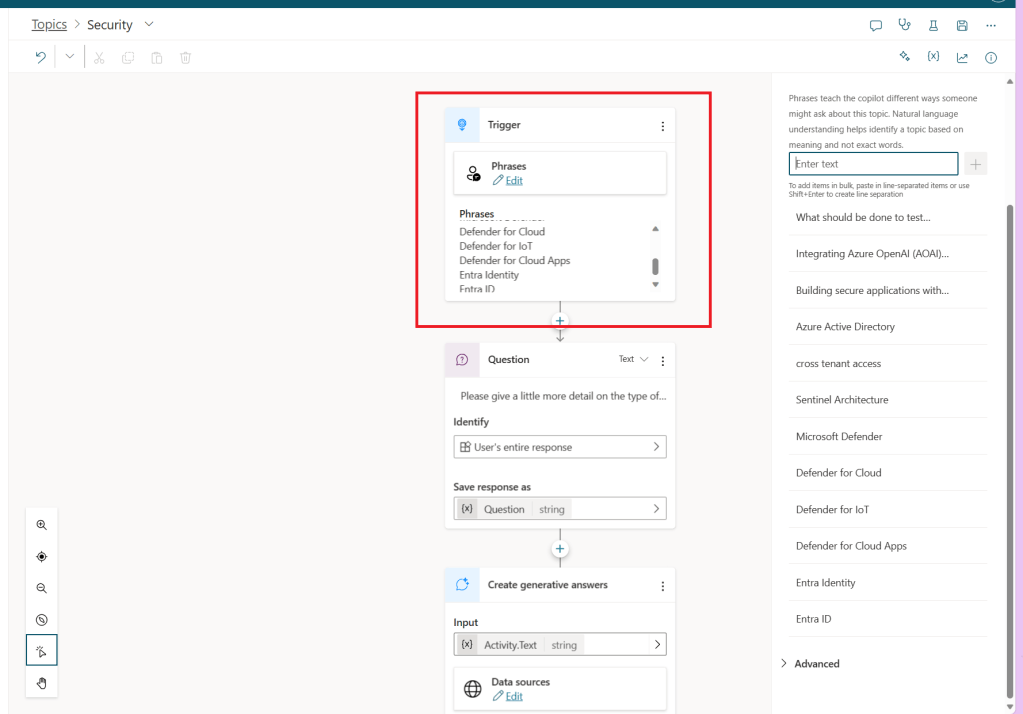
I then added a question, which is one of the features that I really like. And I just used some very basic settings, but you can modify this question to be asked based on specific conditions and to take other actions. In my case I am asking it to provide more detail on the type of information the end user is looking for. My plan with this is to get the end user to share more about what they really want, so the question that is sent to the LLM is really as detailed as possible, which increases the quality of the response from the beginning.

I then ask it to create a generative answer and I provided two public websites. You can choose up to 4 public websites and 4 internal SharePoint sites. You can also add a connection from Azure Open AI as a data source as well. In my case I am using my blog website and the Microsoft documentation.
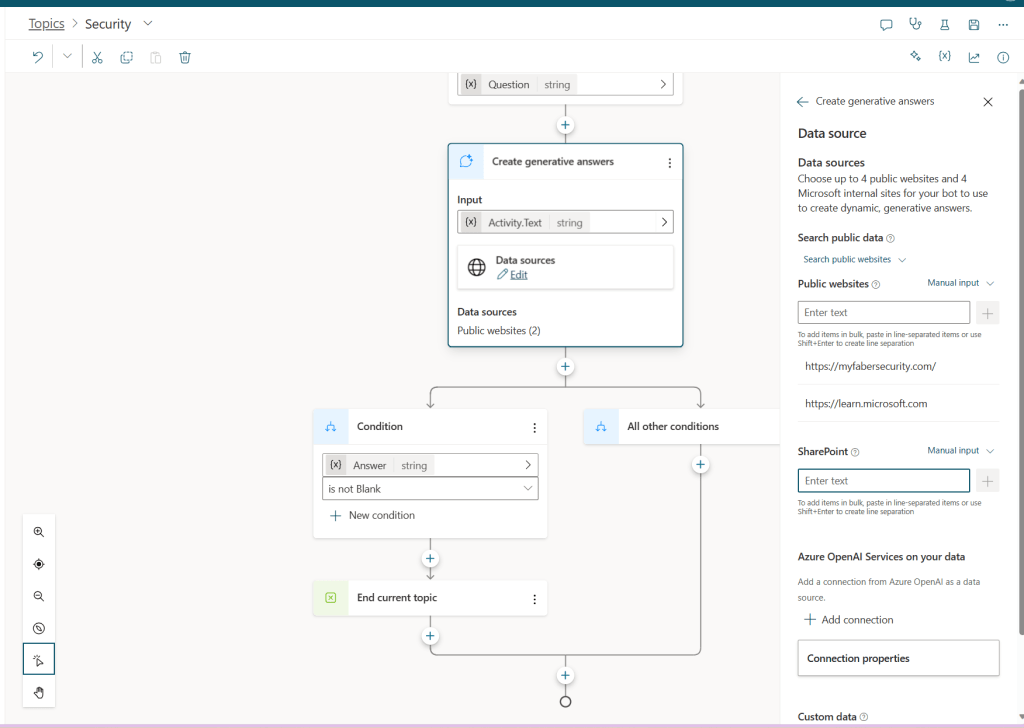
Also, you can also provide some custom instructions, which I am not using. More importantly, you can save the bot response as a variable. In my case, I save it as Answer, which is a string.
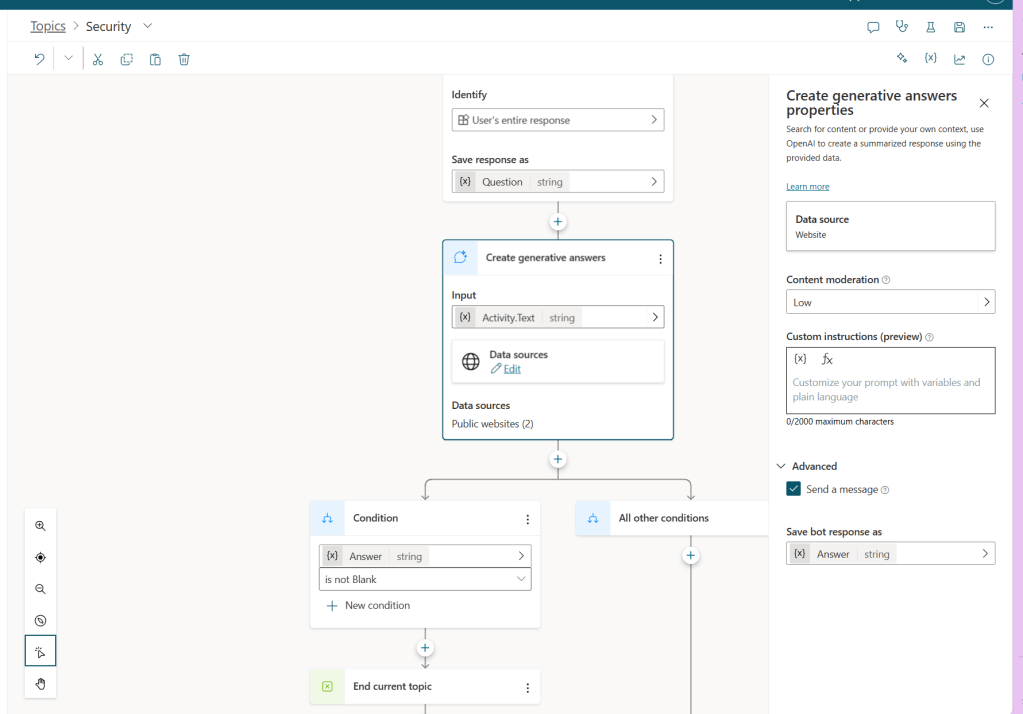
As you can see above, I use the Answer variable in the Condition to evaluate if it’s not blank, then that that ends the topic.
Let’s see this in action
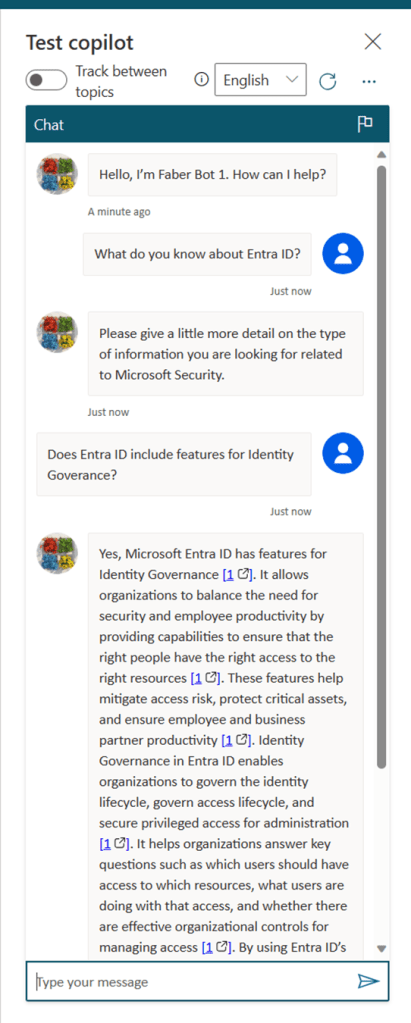
Here I am asking it about Entra ID, and then you can see it prompting me for additional details, and then you see a very thorough answer provided. And you also get the links to the documentation.
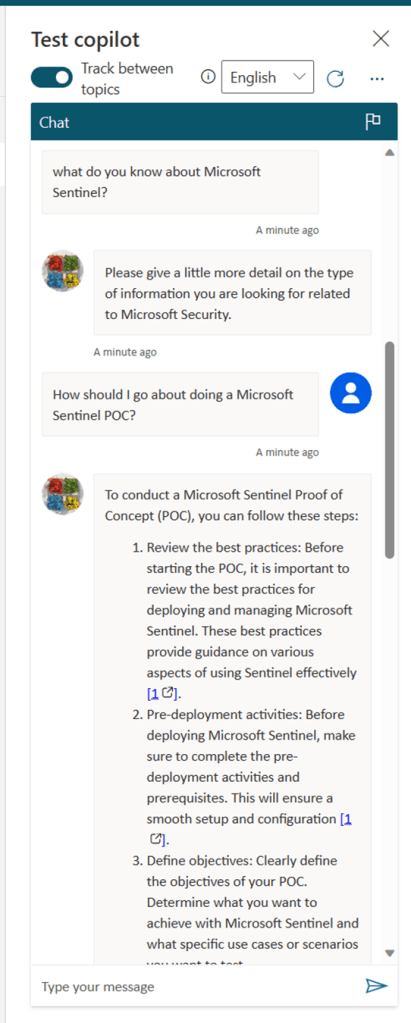
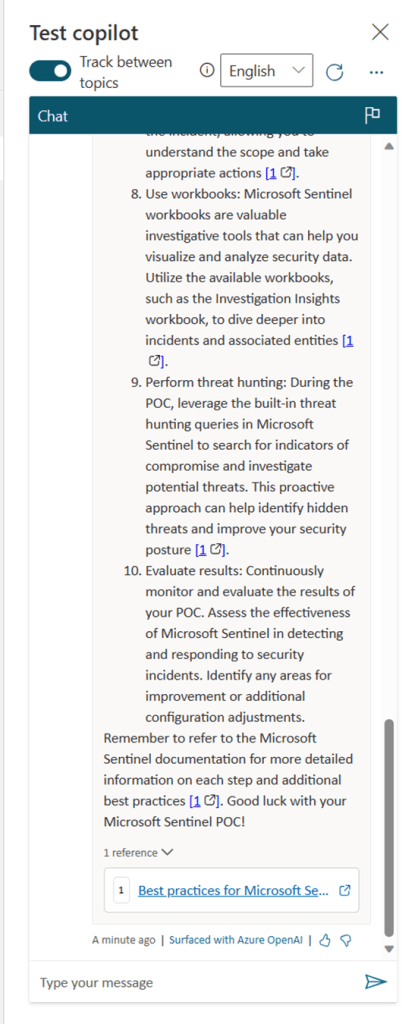
Here is another example, where I am asking about Sentinel.
Why?
I mentioned earlier that there are several reasons why I am testing this tool. Besides the fact that is a LOT of fun, another reason is that I hope this tool will eventually make it easier to integrate with other copilots. That’s partially the topic of part 2. As usual, I hope this is helpful and I hope you enjoy testing this tool as much as I did.

One thought on “Playing with Copilot Studio – Part 1”